Having issues with How To Adjust Y-Axis On Hanwha Samsung SM Feeder 8mm Calibration JIG? Read our step-by-step SMT maintenance solution below. If you require replacement feeders, nozzles, or sensors, contact SMTBOX for OEM-compatible parts.
Step 1: Installing calibration jig
Connect the power cable to the receptacle.
Supply pneumatic air to the jig.
Turn on the switch attached on the rear side of the jig.
Press the power switch attached on the monitor to turn on the monitor.
Step 2: Checking the calibration jig and master jig
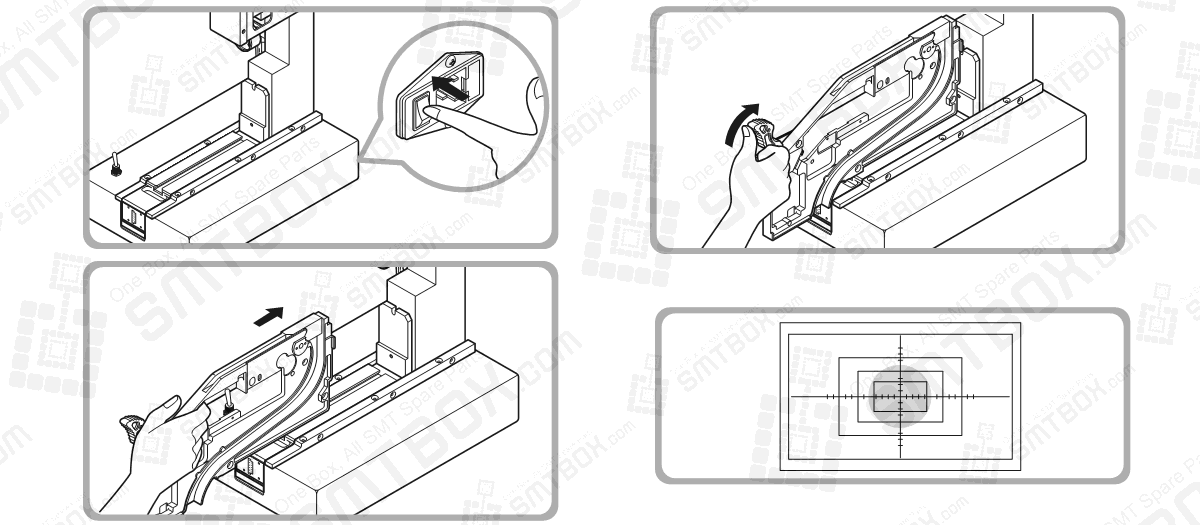
Check the offset between the circle on the top of the master jig and the reticle circle on the monitor by mounting the master jig 2~3 times.
Check if the circle of the master jig is located inside the outer circle of the monitor reticle.
If it is out of the outer circle of the monitor reticle, it is not in normal state. Contact the service center for appropriate measures before using the jig.

Our editorial team consists of senior SREs, mechanical engineers, and SMT assembly specialists focused on PCB assembly line optimization. All technical articles are reviewed and verified for mechanical and electronic compatibility before publication.