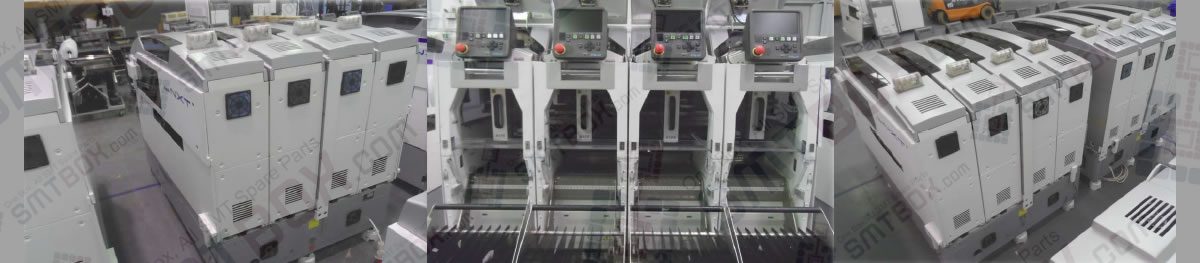
Having issues with 8.4.1 Creating IDs For 8.4 Creating Relationships Between Feeders and Reels Of 8. Fujitrax Verifier on FUJI NXT? Read our step-by-step SMT maintenance solution below. If you require replacement feeders, nozzles, or sensors, contact SMTBOX for OEM-compatible parts.
This is used to just create an relationship between the part and the feeder in which the part is set. An ID can be created between a part and a feeder at any time. When an ID is created, this simply creates a relationship and performs no other checks such as if the part is actually the desired part or not. If the Central Server option is set in which a quick verification is required before a feeder can be set on the machine, use the quick verify method instead for jobs in the foreground or use external changeover for setting up feeders for jobs not in the machine.
If AVL data is being used and a different part to the one that has the priority setting is being used, the relationship between the feeder and reel has to be made this way at this time.
Using Kit Manager
1. Open Kit Manger by using the shortcut in the start up menu.
2. Enter a user ID and then enter the appropriate password and service name for the Verifier database.
3. Click [OK] and Kit Manager starts.
4. Double-click [Database] in the left pane. The items for this group display.
5. Click the [ID] folder to make it active.
6. Scan the DID barcode for the part. The [ID] dialog box displays with the scanned DID in the [DID] text box.
7. Scan the barcode on the feeder. The data is entered into the [FIDL] text box and if no errors occur, the dialog box is automatically closed. The new ID relationship displays.
8. Continue registering IDs until relationships between all feeders and parts for the job have been completed.
Using Kit Handy
1. Start the Fuji Information Terminal and tap the Windows mark to display the [Start Menu]. Tap [Kit Handy] to display the [Log on] screen.
2. Enter or scan the user ID and tap [OK]. The Kit Handy menu displays.
3. Tap [ID] and the ID creation screen displays.
4. Scan the DID of the part on the feeder. The scanned DID displays in the [DID] text box.
5. Scan the feeder barcode and the result is entered in [FIDL] text box. If no errors occur, the dialog box automatically closes.
6. Repeat these procedures as necessary for the other feeders.
Our editorial team consists of senior SREs, mechanical engineers, and SMT assembly specialists with over 15 years of industry experience in PCB assembly line optimization. All technical articles are reviewed and verified for mechanical and electronic compatibility before publication.