Having issues with 8.7.1 Replacing Feeders Using Dynamic Alternate Feeders for 8.7 Resupplying Parts During Production of 8. Fujitrax Verifier on FUJI NXT? Read our step-by-step SMT maintenance solution below. If you require replacement feeders, nozzles, or sensors, contact SMTBOX for OEM-compatible parts.
Fujitrax Verifier issues parts out warnings based upon the user specified settings. When a parts out warning occurs, the operator has time to get a new reel, set it on a feeder, and perform a quick verify. Once these steps are performed, the feeder is set in the module in which the warning was issued and the machine checks that feeder position and automatically converts that feeder into a alternate feeder. When the original parts have run out, parts are then picked from the alternate feeder and the original feeder is removed.
From this point, there are two different procedures performed depending on the dynamic alternate feeder setting specified in the Kit line configuration. Splicing and dynamic alternate feeders cannot be used at the same time on the machine.
If AVL data is being used, quick verify for the dynamic alternate feeder function can only be used to replenish parts have the same part number as the original parts. If the parts have different part numbers, then an ID is made, but if the Central Server setting that a quick verify is required for all parts is on, then this setting needs to be turned off or different part numbers cannot be supplied using the dynamic alternate feeder function.
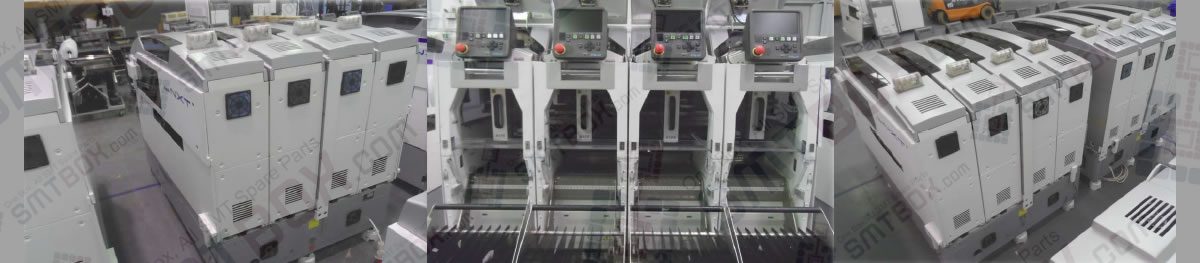
1. A parts out warning is issued and seen from one of the various locations, the NXT operation panel, from one of the Kit Manager status displays, or from the Kit Handy Parts Status or Device Check screens.
2. Obtain a new reel of matching parts and set on a new feeder.
3. Quick verify the parts and feeder using Kit Manager or Kit Handy. Due to this step, when the feeder is set on the machine, the machine will be able to determine the part loaded on the feeder. If the part number is different then create an ID.
4. Set the feeder in an empty slot in the module with the parts on which the parts out warning occurred. If the set green and orange LEDs light, verification was successful and the feeder status was changed into an alternate feeder.
5. Once the original feeder runs completely out of parts and the machine starts picking from the alternate feeder. The original feeder set LED turns red.
6. Remove the original feeder after the red set LED is lit. The actions that occur next depend on the settings in the Kit line configuration for Alternate Feeder.
Note: When removing feeders, it is essential that the clamp lever is raised all of the way and kept in that condition when the feeder is pulled out. If the clamp lever is not completely raised, it is possible that the power to the feeder is not disconnected. If the feeder is removed with power still being supplied, the connector can become bad and the internal feeder board can be damaged.
Note: The machine does not need to be stopped to remove a tape feeder.
If the alternate feeder setting is “ON (Look for removable)”
1. When the original feeder is removed, the LED for that position begins to blink and the LED for the alternate feeder changes to red and the feeder must be removed (it becomes a “removable feeder”). Once the alternate feeder LED turns red, remove the alternate feeder.
Note: If multiple dynamic alternate feeders are set for the same part, the status of all of the set feeders becomes “removable”.
Note: When removing feeders, it is essential that the clamp lever is raised all of the way and kept in that condition when the feeder is pulled out. If the clamp lever is not completely raised, it is possible that the power to the feeder is not disconnected. If the feeder is removed with power still being supplied, the connector can become bad and the internal feeder board can be damaged.
2. Quickly place the alternate feeder in the original feeder slot within the “miss prevention timer” setting time limit in the Central Server (default: 40 seconds). If the feeder is set properly in the original slot within that time limit, the set LED turns green and the feeder can be used. If it is not set within that time frame, quick verify the feeder again and set it in the original feeder’s slot. Resupply is complete.
Note: When there are multiple alternate feeders, only remove one of the alternate feeders. If two or more feeders are removed, the feeder guidance will not display correctly.
If the alternate feeder setting is “ON (Keep Alt Feeder)”
The alternate feeder is continued to be used as is until a feeder is set back in the original feeder’s slot. When parts are set back in the original slot. the machine then picks parts from the original slot. This means that the alternate feeder is only used as long as there is no feeder in the original slot.
Our editorial team consists of senior SREs, mechanical engineers, and SMT assembly specialists with over 15 years of industry experience in PCB assembly line optimization. All technical articles are reviewed and verified for mechanical and electronic compatibility before publication.